How to use the moulds?
How to use our silicone moulds?
There are two main technologies: freezing and baking.
Short video showing how to use our moulds
Watch our short video to get an idea how to use our moulds in various ways.
You can bake it or freeze it, making cakes, desserts, plated desserts, side dishes, main courses... get inspired, mould your mind!
1. Freezing technology
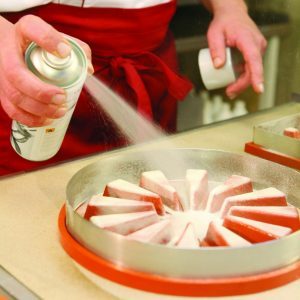
1. Preparation and filling
Prepare the mould and spray it with vegetable oil based separating agent. You can fill the mould with various creams or mousses.
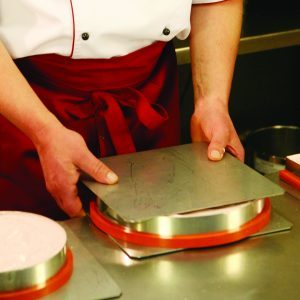
2. Shaking or tapping the moulds
After filling the mould, give it a few good shakes or firm taps to release any air from the mixture, hence the mixture or the cream will have an even consistency and perfect shape.
It is recommended to make the cream a little softer than usual because that way it can fill the mould easily and perfectly without trapping any air.
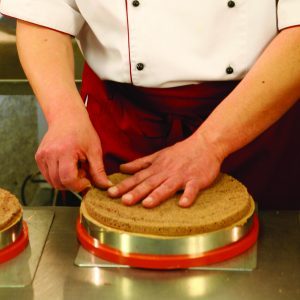
3. Covering
Cover the filled mould with a thin, approximately 1-1.5 cm thick pre-made sponge cake.

4. Chilling
After covering the mould with sponge cake layer, place it in the freezer or shock freezer for a few hours.
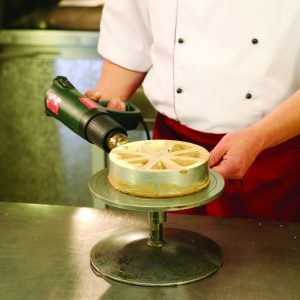
5. Separation
Take the mould out of the freezer, and turn it upside down. Slightly heat the silicone mould, which is now on the top, with a hot air blower. You can remove the silicone mould easily.
After removal, you can see the cavities in the product which can be filled with various fillings.
Remove the metal ring surrounding the product, again by warming it slightly with a hot air blower.
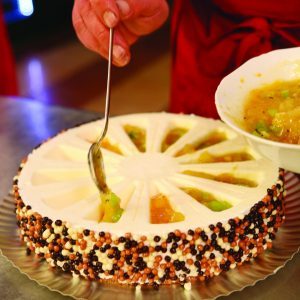
6. Filling and Decoration
Fill and decorate the product to taste.
Short videos about freezing technology
2. Baking technology

1. Preparation and filling
Prepare the mould and spray it with vegetable oil based separating agent. When baking, you can fill the moulds
with various savoury or sweet sponge cakes or puffs depending on how you want to apply them.

2. Shaking or tapping the moulds
After filling the mould, give it a few good shakes or firm taps to release any air from the mixture. This is how the
paste will have an even consistency and the cake will have a perfect shape.
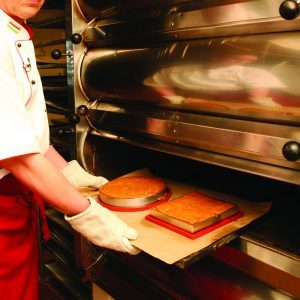
3. Baking
Bake the filled mould in the oven at 170 °C.
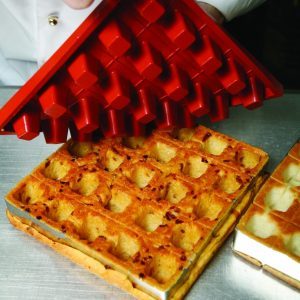
4. Separation
Take the cake out of the oven, sprinkle the top with icing sugar, and then turn it upside down. Remove the mould
immediately. Due to the special material of the silicone mould and to the separating agent, you can easily remove
it. Sliding a knife all around the cake the baking ring can be removed as well.

5. Filling and Decoration
Fill and decorate the product to taste. Have a great time cooking and baking with our products.
